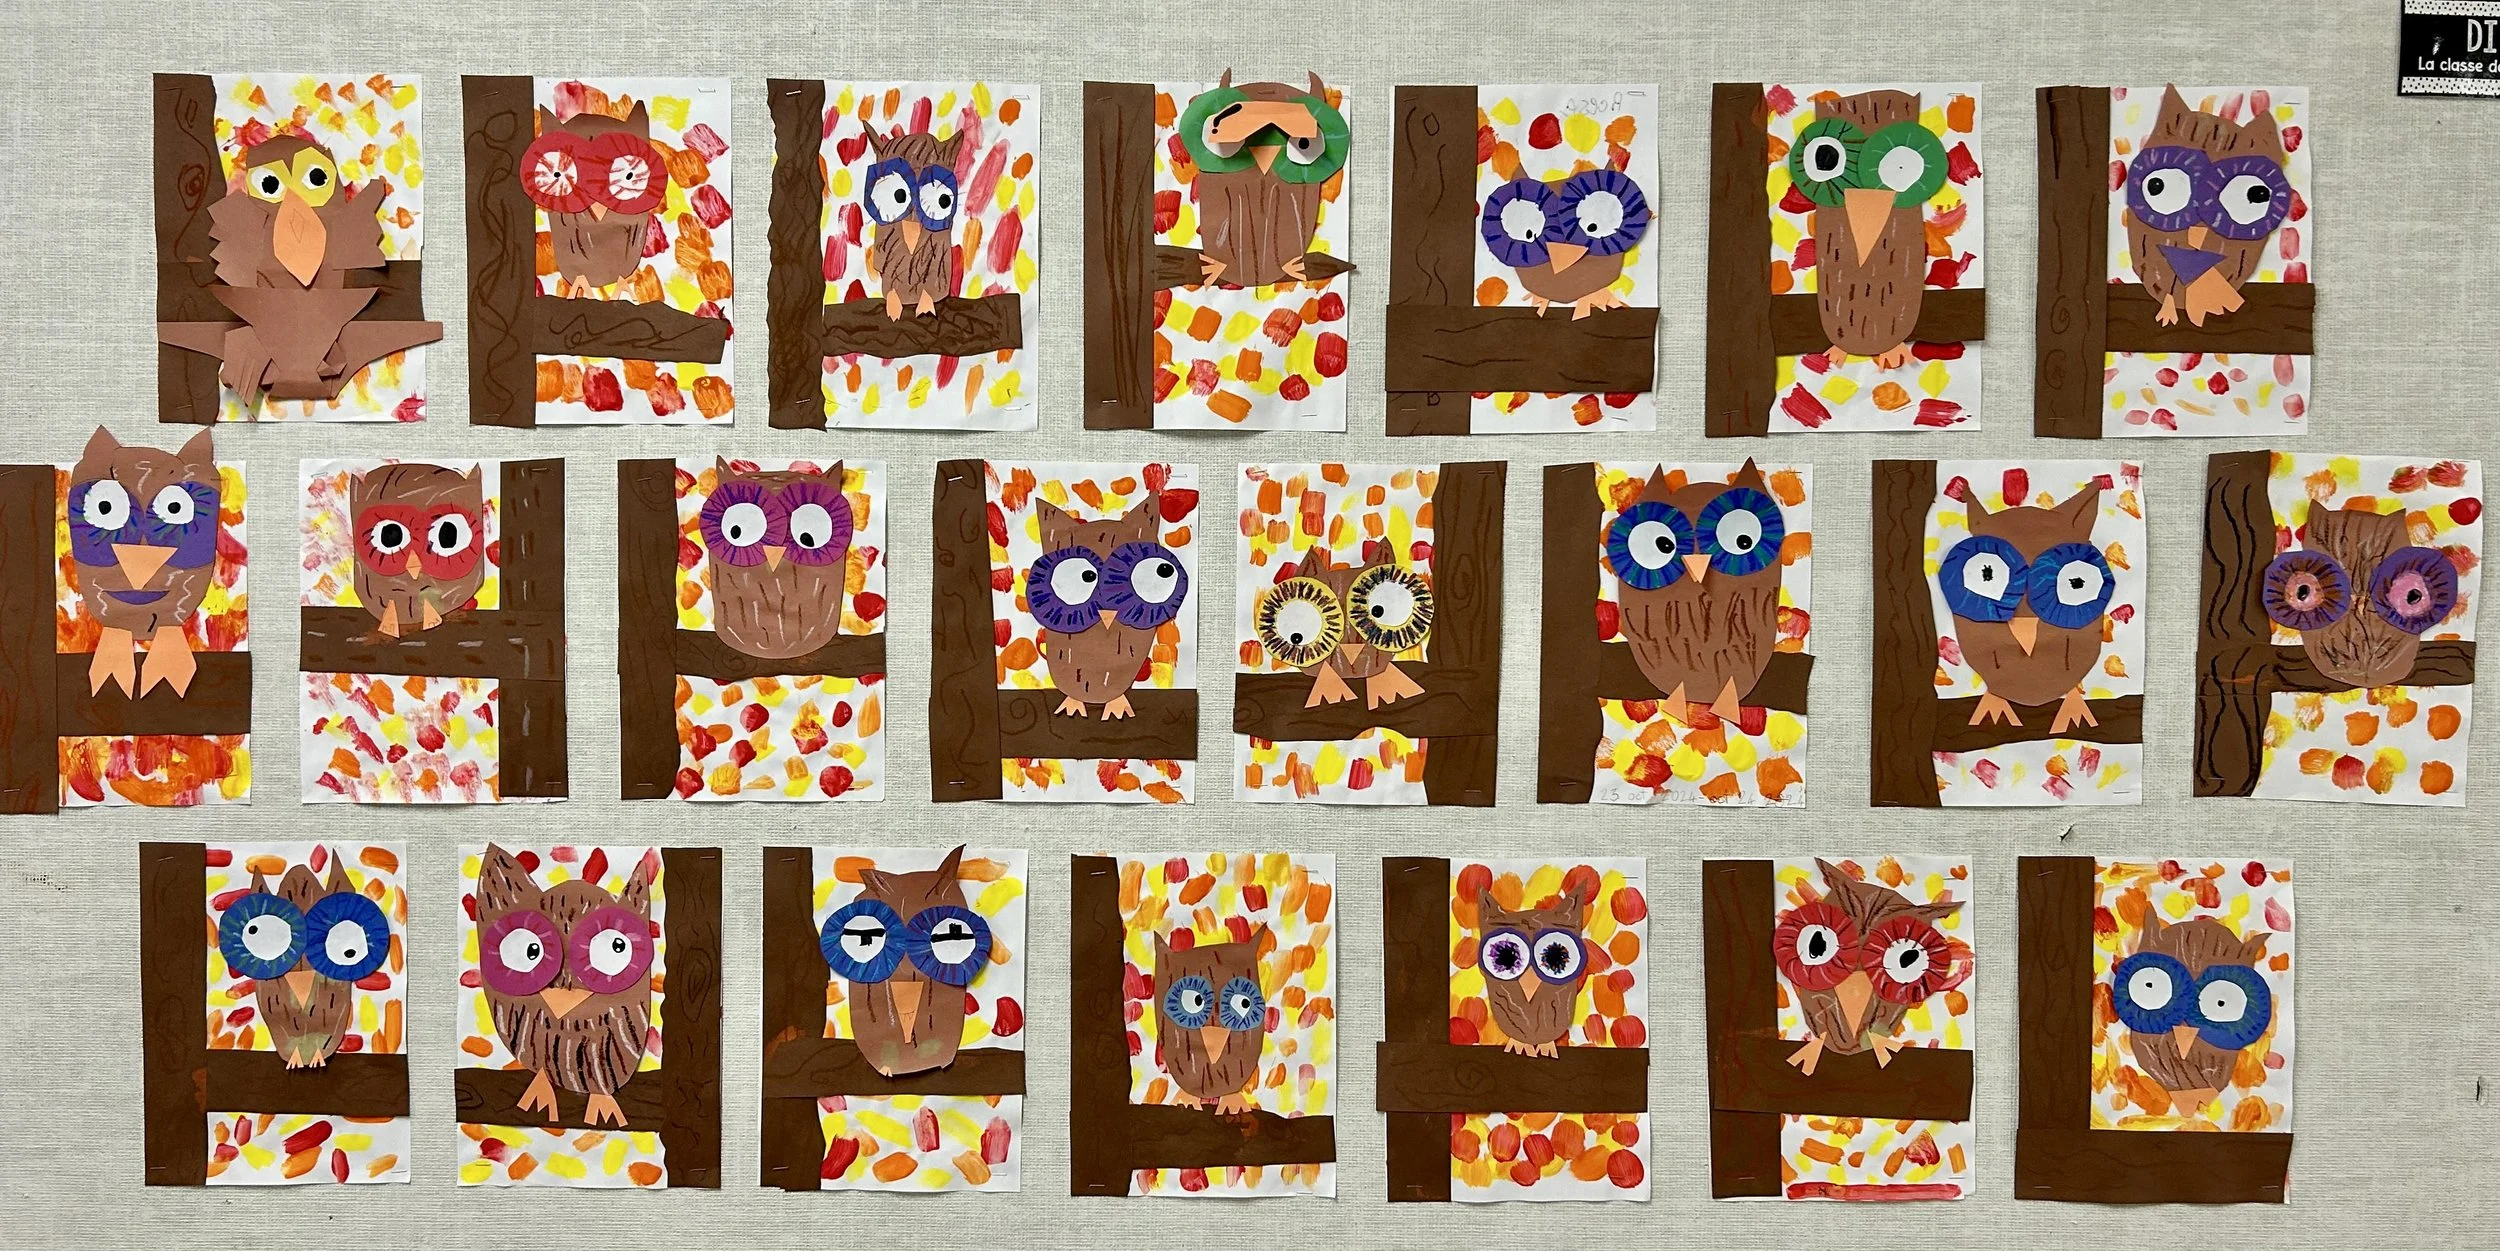
Fall Owl Art Project
I saw this project on Instagram (@sv.artroom) and thought it was just too cute as a fall project. It uses lots of different materials so there’s lots to play around with!
Time required:
2 session (1: 20 min & 2:40-60 min)
*Requires dry time if doing a painted background for step 1
Materials Step 1:
Printer weight white paper
Tempera paint (liquid or water colour) in red, orange and yellow
Large paint brush & water cup
Materials Step 2:
Step 1 painted paper (dried)
Construction paper (brown, orange + variety of colours for eyes)
Oil pastels or crayons
Glue stick
Pencil
Sharpie or black marker
Scissors
Optional - eye tracers for inner and outer circle. I made mine on card stock
OPTIONAL PREP STEP - TRACERS
You can do any of this free hand but depending on the age of your students, you might want tracers. I chose to do tracers for the eyes as circles are hard to manage as it, plus the charm of this project is the owl’s big eyes and I didn’t want them to end up with tiny eyes. I used card stock and cut them out.
If you’d like to use tracers for the owl, you could do that too. Alternatively, print the shape on construction paper for them to cut.
SIZE: you can make them any size you want but if you’re curious, I used the bottom of my travel mug for the large size and the bottom of this Advil bottle for the small size.
Btw, it’s worth writing on there what these circles are for so that they don’t get lost in my art pouch and I have no idea what I used them for!
Step 2 paper prep
tree: cut brown paper into 1/4th (on long side) - 2 strips per student needed
owl: cut brown paper in half (on short side) - 1 per student
feet and beak: cut orange paper into 6 pieces - 1 per student
inner eye: cut white paper into 8 pieces - 1 per student
outer eye: cut a variety of construction paper into quarters - 1 per student
STEP 1 - PAINTED PAPER BACKGROUND
This is just a suggestion and you could do any other background you want.
We are mimicking falling leaves so use the large paintbrush to create short strokes. These can be going in different directions.
I suggest starting with lightest to darkest (yellow, orange, red).
Leave to dry.
*NOTE: since we’re going to be gluing this to this paper, it’s a good idea to dry it and then press the papers under something heavy to ensure a good stick.
STEP 2 - OWL
We need the dried background from step 1.
Start by creating the tree and branch.
Cut a wiggly line up the brown paper and glue it to one side of the background.
Using the same brown paper, cut a branch and glue it horizontally coming out from the trunk.
Make the owl. Draw on brown construction paper, then cut out.
Use oil pastel or crayons to give the owl and tree bark some texture. I used brown, white and black.
Cut out a beak and two feet from the orange construction paper.
Make three triangles, then cut notches out of two of them for the feet.
Make the owl eyes. I made tracers for my students with card stock but you could have them free draw.
Cut two larger circles out of your choice of construction paper.
Cut two smaller circles out of white printer paper.
Use oil pastel or crayons to add lines coming out from the middle towards the outside of the coloured eye pieces.
Use a Sharpie to add pupils.
Glue the inner and outer circles together.
Attach the eyes, beak and feet to the owl.
Glue the completed owl onto the background.


