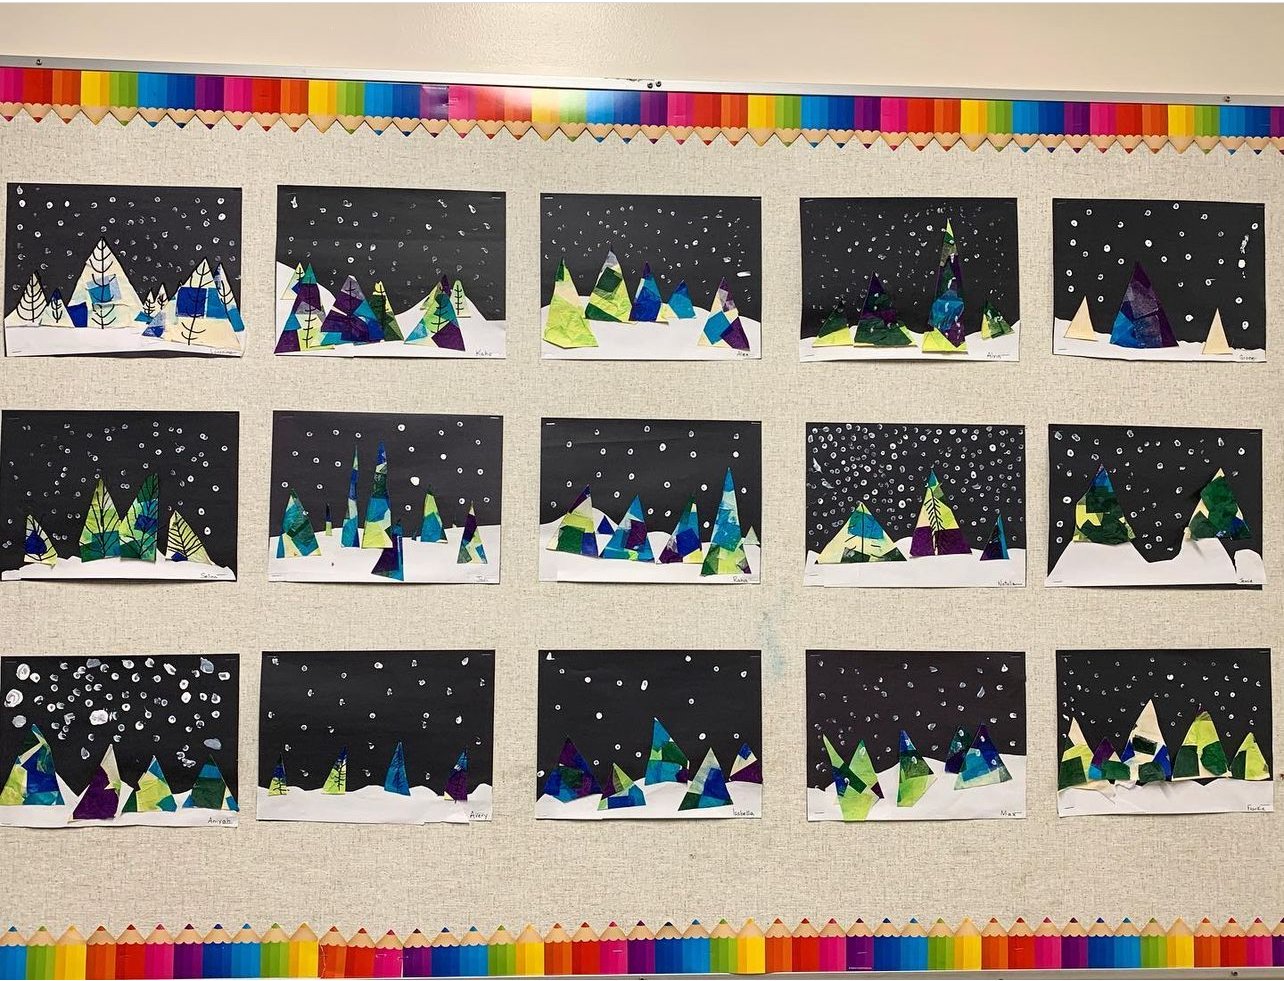
Winter Landscape Art Project
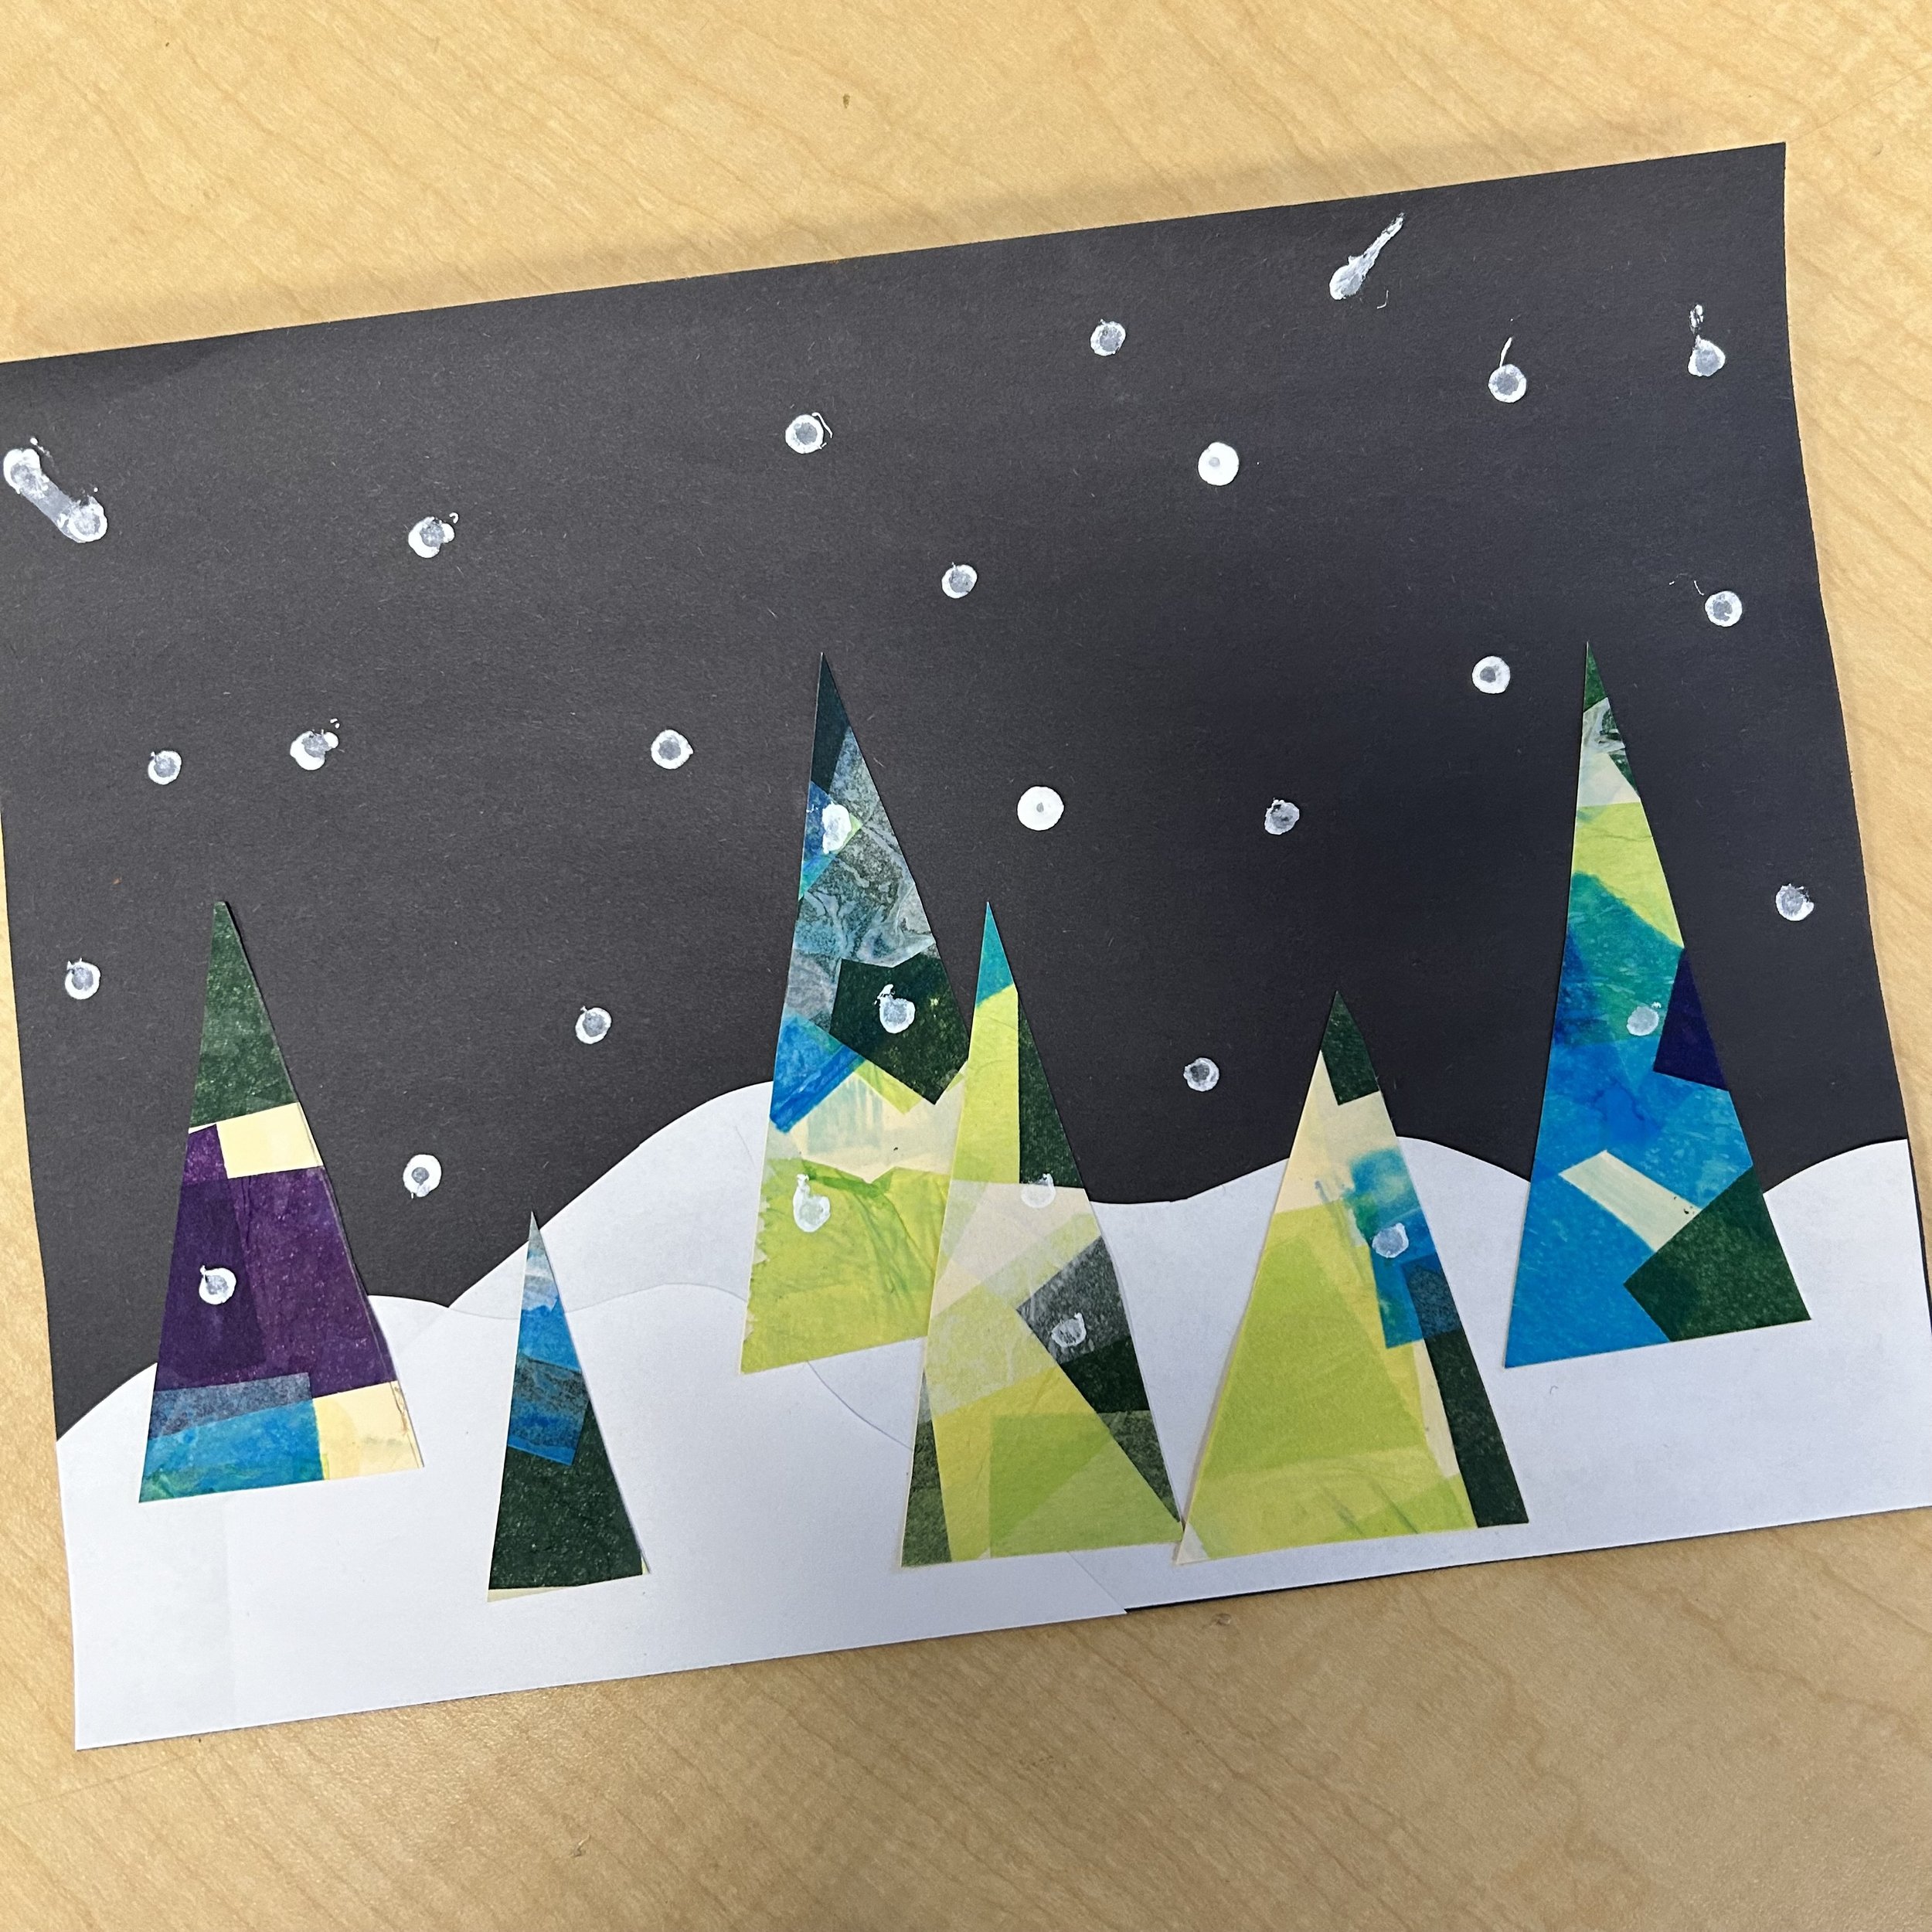
This is a multi-step project that makes a beautiful winter landscape. While we used the same colour palette, you could do various colours and make them look a bit like folk trees.
Time required: 2 blocks
day 1 ~20-30 minutes
day 2 ~30-40 minutes
Materials day 1:
White paper or card stock
Tissue paper cut into squares
Foam brush
White glue with a touch of water mixed in
Materials day 2:
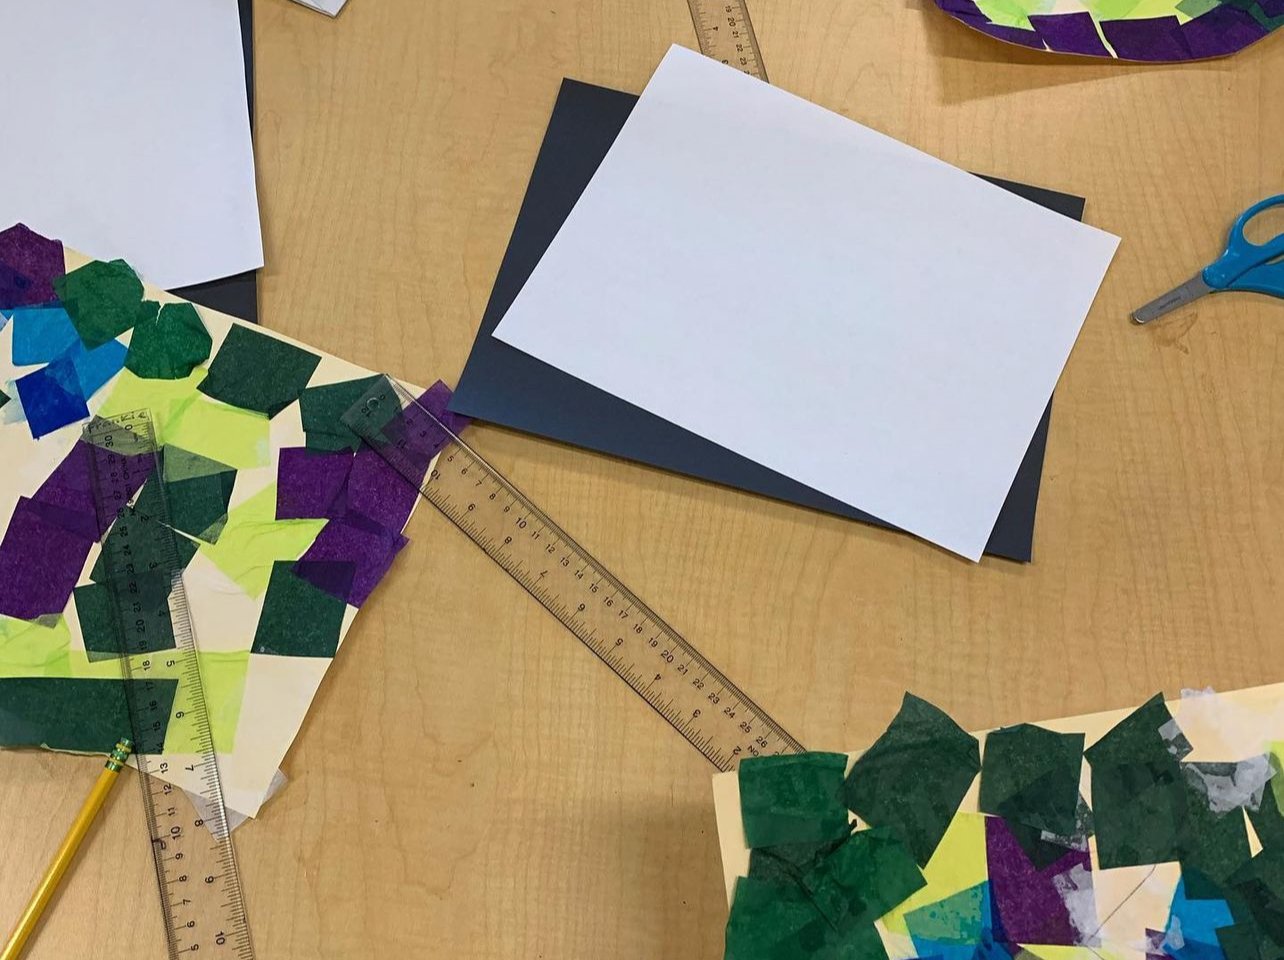
Black construction paper
White paper
Collage paper from day 1
Scissors
Glue
Pencil
Sharpie
Ruler
White paint & cotton buds OR white pastel
Teacher prep:
Cut tissue paper into squares. I do this with the big paper cutter and it goes quickly.
Right before starting, you’ll need to mix up a glue mixture. Mostly glue with just a tiny bit of water to thin it out.
Steps day 1:
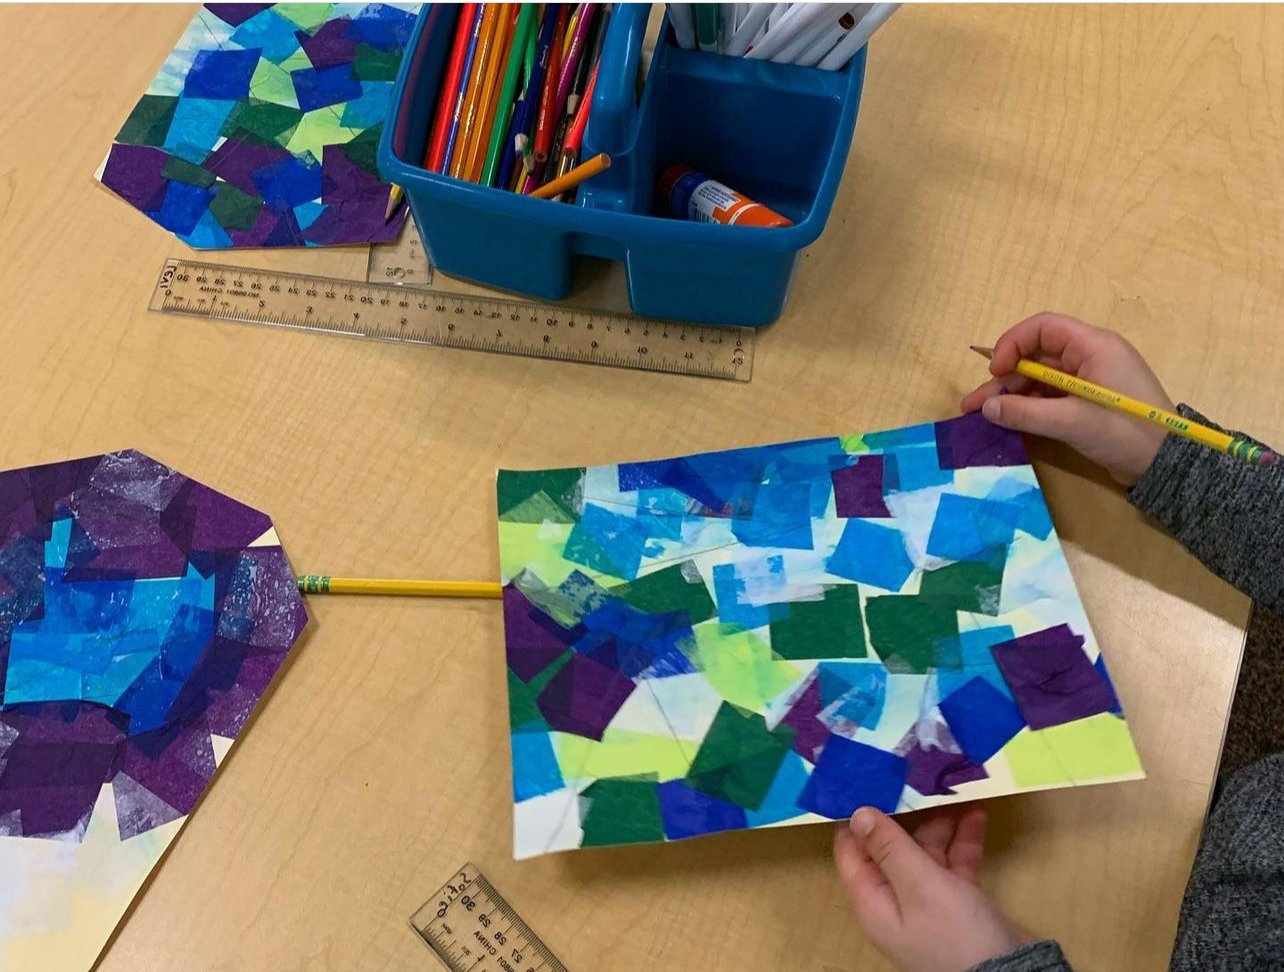
Using your sponge brush, apply a thin layer of the glue mixture onto a small section of your paper/card stock.
Now lay pieces of tissue paper onto the paper/card stock one at a time. They can overlap, but we don’t want thick sections. Go slow, if you go too fast you’ll end up ripping the paper.
Dip your sponge brush back into the glue mixture and seal your pieces down. The tissue paper should look shiny.
Now continue onto another section, glue mixture on card stock first, then apply tissue paper, then seal it.
Continue until the background is fully filled.
Set aside to dry. You’ll probably need to press these under heavy books once dry as they’ll curl up and we’ll want them flat for the next step.
Steps day 2:
Turn the tissue paper page upside down and draw triangles of various sizes using your pencil and ruler.
Cut the triangles out.
Cut some snow for the bottom of the sheet. Glue this down on the black construction paper.
Glue your trees along the snow.
Optionally, add some details to the trees with a Sharpie.
Make some snowflakes using white acrylic paint and a cotton bud or a white pastel.


